
SCRUNCHIE TUTORIAL
Print Pattern 100% To Scale:

Measure Test Square to test printing accuracy:

Cut out pieces. Note there are two pattern options, Scrunchie A if you want to cut your scrunchie on the fold, or scrunchie B for full lent. Two options are provided to allow you flexibility when arranging small pattern pieces into your excess fabric.

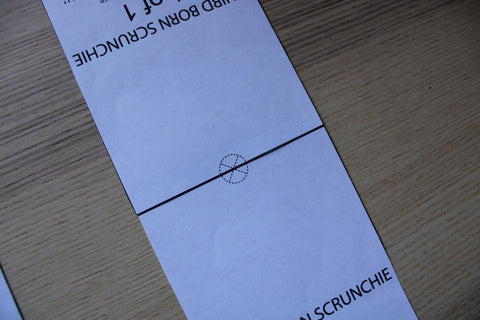
Match target and tape together:
Place on fabric and cut out scrunchie panel:

Pin along long edge as needed.

Stitch 1/4 seam allowance:

Pull one end of scrunchie up through channel. You should have raw edge facing out like pictured below. You may need to get creative with this step, a safety pin may help. It will be okay if panel twits in this process (it will still work).

Match seams:

Pin in place as needed. Mark a start and stopping point about 1/2 inch apart. This is how you will turn scrunchie right side out.

Stitch 1/4 seam allowance around circle. Leave opening for turning scrunchie right side out. Back tack at beginning and end, turning right side out puts significant tension on seams.

Feed elastic (8.5'' in length) through scrunchie channel. Pin a safety pin to one end to help feed through (pictured below is a "spaghetti strap turner".

Tie together with square knot (right over left, left over right). This will ensure knot becomes stronger with use.

Pull scrunchie through opening to turn right side out. Give it time pull at fabric slowly, it will come.

Find opening and pinch together to prepare to stitch closed.

Pinch together and hide raw edges inside scrunchie:

Stitch together closing opening 1/8 from edge.

Admire and enjoy your scrunchie: