
Laying out your pattern correctly is one of the most important steps of the garment construction process. Now that your fabric is pre-washed, cut on grain, ironed, and blocked, you may now begin to place your pattern pieces on your fabric. Lately I have been enjoying sewing my selvages together (instead of pinning) as it also helps iron out wrinkles that happen to congregate around the selvage.
OK, lets get started.
Roughly lay out all of your pattern pieces referring to the pattern layout guide in your tutorial. Do this first to make sure they will all fit.

Place bodice back on fold. Place pattern weights to secure into place. (I use large washers from a local hardware store).

Double check your neckline is perfectly on edge of fabric (be careful not to add any length into the neckline measurements here). Trace pattern piece with taylors chalk/pen ( I prefer a "frixion pen", erases with heat and can be found at most major department stores with an office section). Make sure to mark notches with pen.
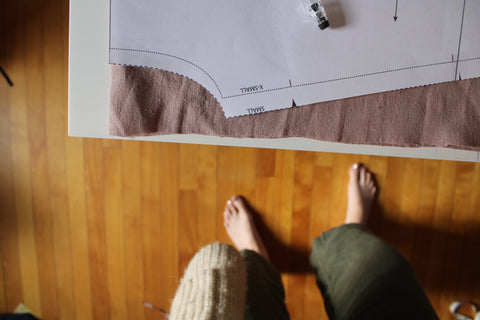
Now it is time to place bodice front on grain. You will want to place the center front line on your bodice front pattern piece parallel to the selvage.

Measure at top first so that you have enough space for neckline. Note measurement.

Measure along center front to make sure center front is parallel to selvage. I often stick a pin in points to keep in place.

Measure once more at bottom of center front.

Once center front is perfectly parallel to selvage, place your handy pattern weights onto pattern piece. Household objects also work great. But not your cat, don not use your cat.

Mark all notches, particularly center front notches, and neckline opening notch. Poke a hole through pattern to do neckline opening notch.

Lift pattern piece, make sure neckline opening is clearly marked.

Now that Bodice Front and Bodice Back pattern pieces are traced, place small pattern pieces onto pattern (back neck facing, scrunchie, headband, mask). Use same concepts to place correctly onto pattern.

Use your best scissors to cut out pieces, cut carefully, take your time! A nice pair of fabric scissors is one of the best things you can invest in as a beginner sewers. I use a pair of Kai scissors, they were actually a gift from my old boss when I worked as a seamstress in Virginia, they are fantastic.

Once all my pattern pieces are cut out, I snip into my notches about 1/8 Inch. Make sure not to snip past your seam allowance (neckline is 1/4'' allowance, side seams 3/8'' seam allowance).

Cut out your neckline interfacing. Fold in half, place pattern pieces on interfacing (I will upload a better picture to illustrate, I must have missed this step). Important: make sure you have mirror image pieces for front neck facing as iron on adhesive is on one side! Mark and snip your notches on your interfacing too!

Now you are ready to start the garment construction process! How exciting!